Crispy Homemade Onion Rings Recipe: The Ultimate Lunchtime Treat for Global Food Lovers
When it comes to comfort food, few dishes can rival the irresistible crunch and savory flavor of perfectly cooked onion rings recipe. Whether you’re a seasoned chef or a kitchen novice, this crispy homemade onion rings recipe is a must-try for anyone who loves indulging in delicious, golden-brown snacks. Perfect for lunch, game day, or even as a side dish, these onion rings are easy to make and guaranteed to impress.
In this post, I’ll walk you through everything you need to know to create the best onion rings recipe at home. From the freshest ingredients to expert tips and tricks, this recipe is designed to deliver restaurant-quality results every time. Plus, I’ll share some fun variations and substitutions to keep things exciting. Let’s dive in!
Ingredients for the Best Onion Rings
Here’s everything you’ll need to make crispy homemade onion rings for 4 servings:
For the Onion Rings:
- 2 large yellow onions (or sweet onions for a milder flavor)
- 1 cup all-purpose flour
- 1 teaspoon paprika
- 1 teaspoon garlic powder
- 1 teaspoon salt
- ½ teaspoon black pepper
- 1 cup buttermilk (or substitute with regular milk + 1 tablespoon vinegar)
- 1 ½ cups breadcrumbs (panko for extra crunch)
- 1 teaspoon onion powder (optional, for extra flavor)
- Oil for frying (vegetable, canola, or peanut oil works best)
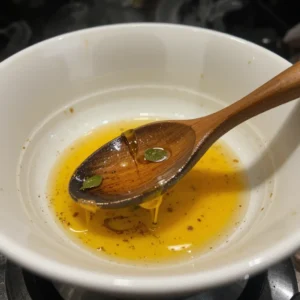
The Dipping Sauce (Optional):
- ½ cup mayonnaise
- 2 tablespoons ketchup
- 1 teaspoon hot sauce (adjust to taste)
- 1 teaspoon honey
- ½ teaspoon smoked paprika
Ingredient Tips for Success
- Freshness Matters: Use fresh onions and spices for the best flavor.
- Temperature Control: Keep the buttermilk and onions cold to help the coating stick better.
- Quality Oil: Use fresh oil for frying to avoid off-flavors.
- Experiment: Don’t be afraid to tweak the seasonings to suit your taste.
Step-by-Step Instructions for Making Crispy Onion Rings
Follow these easy steps to create the perfect onion rings at home:
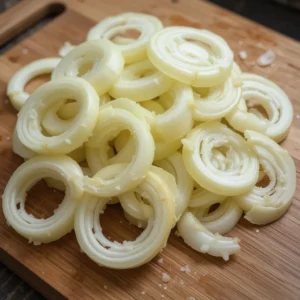
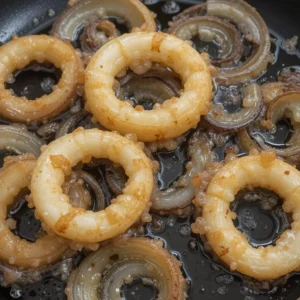
1: Prepare the Onions
- Onions should be peeled before cutting them into ½-inch thick rings.
- Separate the rings gently and set aside.
Pro Tip: Soak the onion rings in cold water for 10 minutes to reduce their sharpness and make them easier to coat.
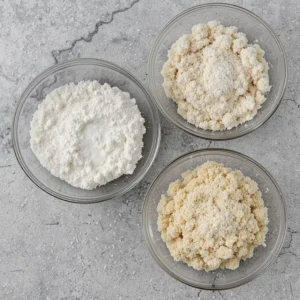
2: Set Up Your Coating Station
- Mix flour with paprika, garlic powder, salt, and black pepper in an individual bowl with a shallow depth.
- In a second bowl, pour the buttermilk.
- In a third bowl, combine the breadcrumbs and onion powder (if using).
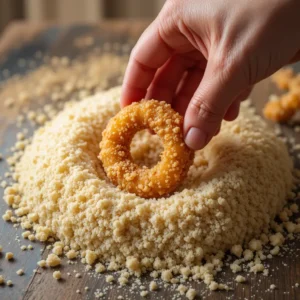
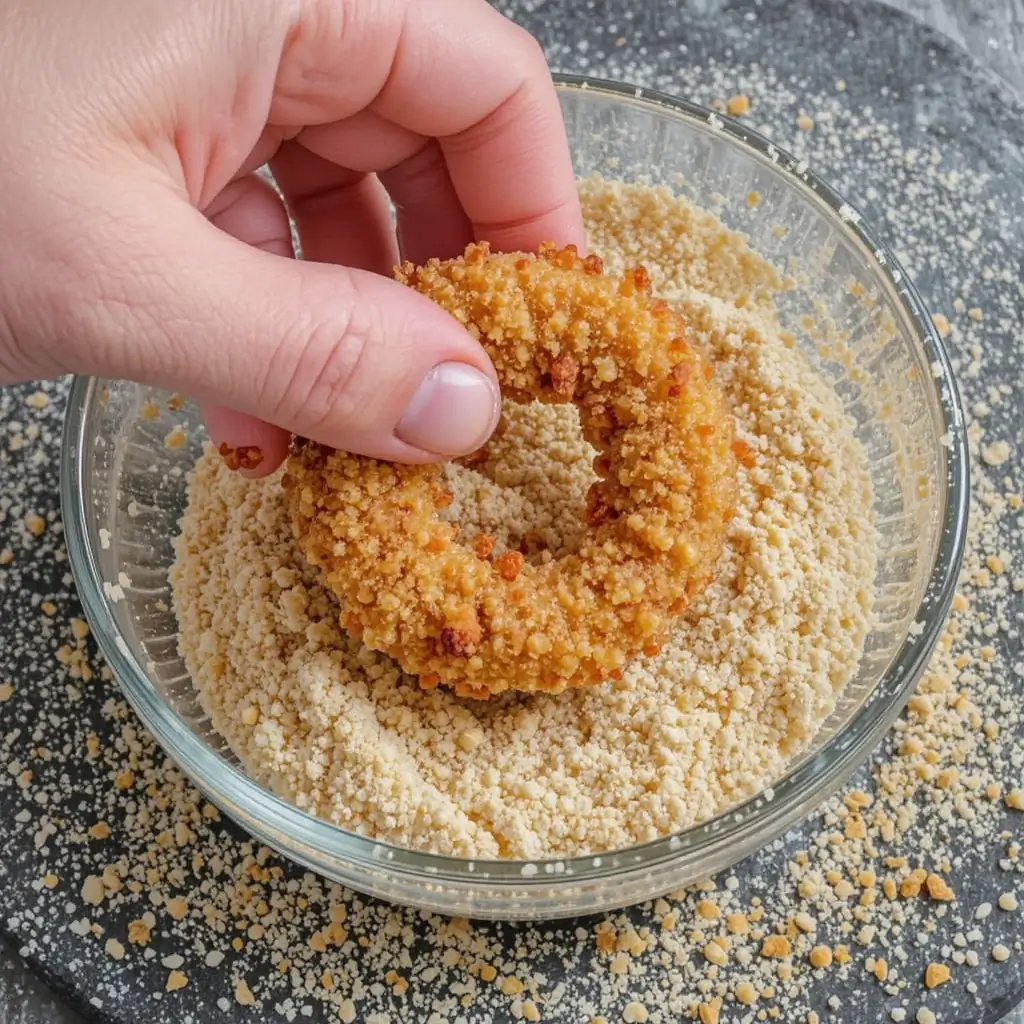
3: Coat the Onion Rings
- Prepare each onion ring by covering it with the flour mixture, then remove surplus flour.
- Spread the chicken strip into the buttermilk so that it becomes entirely covered.
- Finally, press the onion ring into the breadcrumbs, making sure it’s evenly covered.
Pro Tip: For extra crunch, double-coat the onion rings by repeating the buttermilk and breadcrumb steps.
4: Heat the Oil
- In a deep skillet or fryer, heat the oil to 375°F (190°C).
- A thermometer should be used to verify the proper frying temperature of the oil.
5: Fry the Onion Rings
- Carefully place a few onion rings into the hot oil, avoiding overcrowding.
- Mix the onion rings in the egg-wine mixture before placing them in heated oil for 2-3 minutes to achieve a crispy golden brown finish.
- A slotted spoon should be used to move onion rings from the oil, while a paper towel-lined plate will soak up the excess liquid.
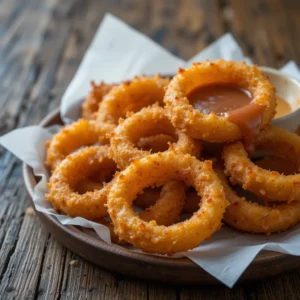
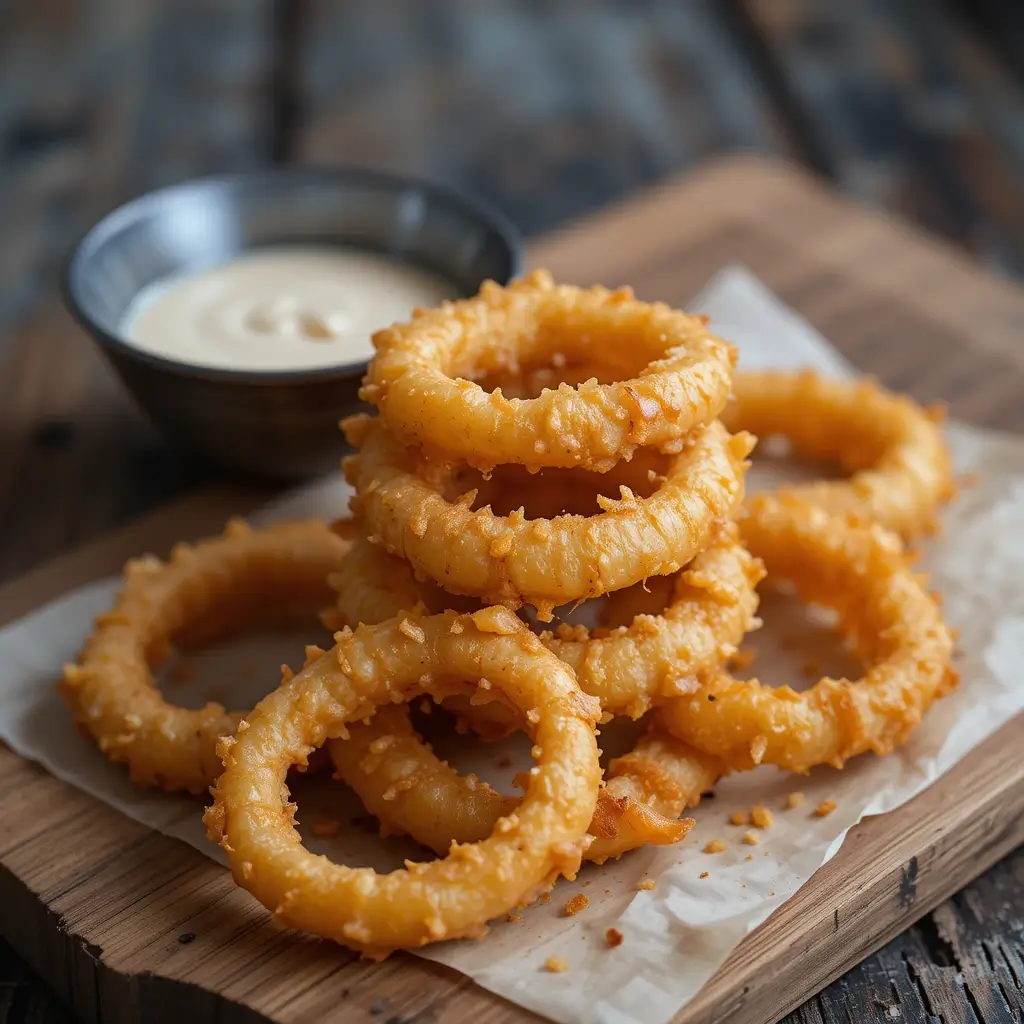
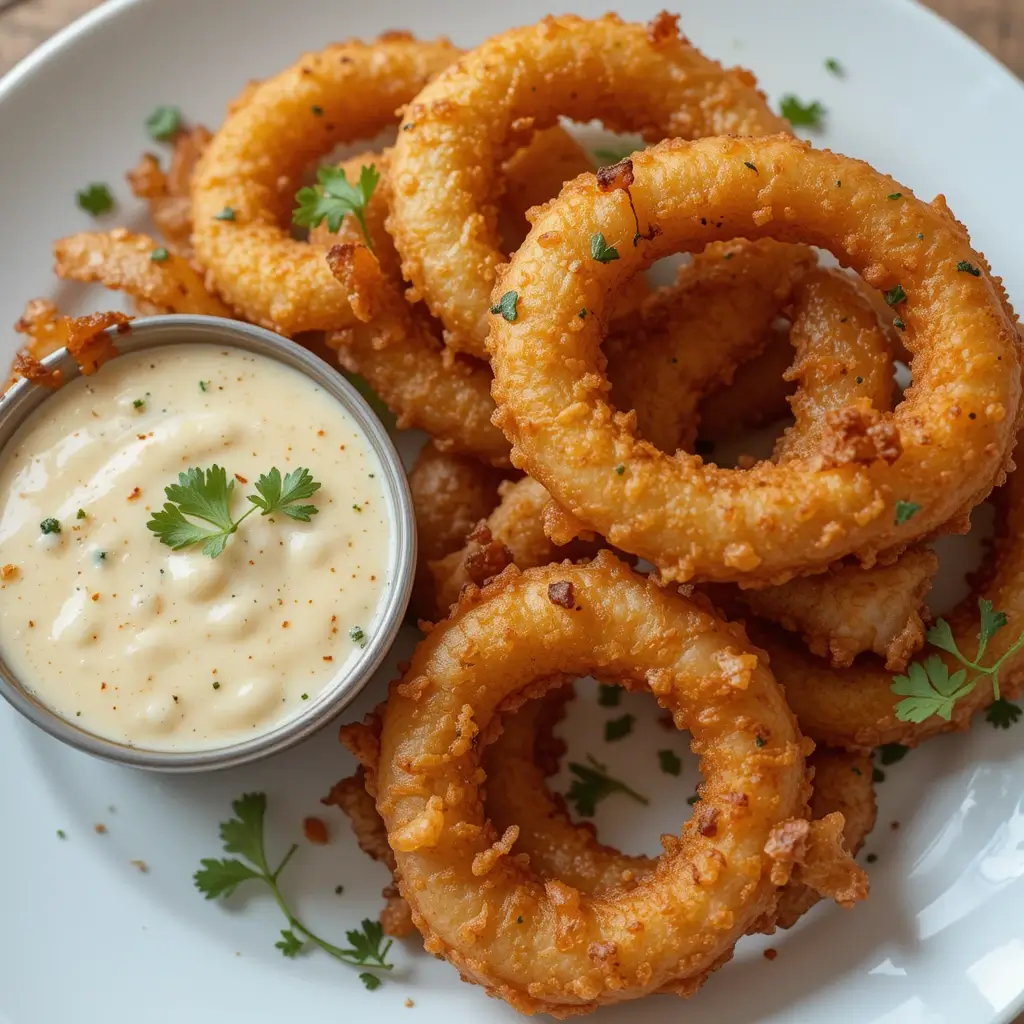
6: Serve and Enjoy
- Serve the onion rings immediately while they’re hot and crispy.
- Pair them with your favorite dipping sauce or try the optional recipe above.
Helpful Tips and Variations
Tips for Perfect Onion Rings:
- Use Cold Ingredients: Cold buttermilk and onions help the coating stick better.
- Don’t Overcrowd the Pan: Fry in small batches to maintain the oil temperature.
- Baking Option: For a healthier version, bake the onion rings at 425°F (220°C) for 15-20 minutes, flipping halfway through.
Variations to Try:
- Spicy Onion Rings: Add cayenne pepper or chili powder to the flour mixture.
- Gluten-Free Onion Rings: Use almond flour and gluten-free breadcrumbs.
- Cheesy Onion Rings: Mix grated Parmesan into the breadcrumbs for a cheesy twist.
The History of Onion Rings: A Crispy Journey
The concept of frying onions dates back centuries. Ancient civilizations like Rome and Egypt enjoyed onions as a dietary staple, and frying them was a natural way to enhance their flavor. In medieval Europe, onions were often battered and fried to preserve them and make them more palatable.
The modern onion ring, however, likely emerged in the early 20th century in the United States. The first recorded recipe appeared in a 1922 Crisco advertisement in the New York Times, instructing readers to slice onions, dip them in a milk and flour batter, and fry them. By the 1930s, onion rings gained popularity in diners and drive-ins, becoming a staple side dish for burgers and sandwiches.
The post-World War II era saw onion rings rise to fame in fast-food chains like A&W and Dairy Queen. In the 1960s, frozen onion rings hit the market, making them even more accessible to home cooks. Brands like Ore-Ida revolutionized the way people enjoyed this crispy treat.
While onion rings are deeply rooted in American cuisine, variations exist globally. In India, pyaz pakora features onions coated in spiced chickpea batter and fried. In Japan, kakiage tempura includes onions mixed with other vegetables. Middle Eastern dishes often use fried onions as a garnish for rice and meat dishes.
Today, onion rings remain a favorite for their versatility, comfort food appeal, and customizability. Whether spicy, cheesy, or gluten-free, they’ve adapted to suit modern tastes. National Onion Rings Day, celebrated on June 22nd, honors this iconic snack.
From ancient kitchens to modern fast-food menus, onion rings have stood the test of time. Their crispy, golden perfection continues to delight food lovers everywhere, proving that sometimes the simplest dishes are the most enduring.
Why You’ll Love This Onion Rings Recipe
- Perfectly Crispy and Golden Every Time
This recipe guarantees crispy, golden-brown onion rings with an irresistible crunch. The combination of flour, buttermilk, and breadcrumbs, along with the right frying temperature, ensures they stay crispy—never soggy. - Simple, Accessible Ingredients
Made with pantry staples like flour, breadcrumbs, and spices, this recipe is budget-friendly and easy to whip up. No fancy ingredients required—just fresh onions and a few basics you likely already have at home. - Customizable to Your Taste
Whether you like them spicy, cheesy, or gluten-free, this recipe is versatile. Add cayenne pepper for heat, mix Parmesan into the breadcrumbs, or use gluten-free flour and breadcrumbs for dietary needs. - Fun and Easy to Make
With step-by-step instructions, this recipe is beginner-friendly and fun to prepare. It’s a great way to get kids involved in the kitchen or to enjoy a satisfying cooking project on your own. - Perfect for Any Occasion
These onion rings are a crowd-pleasing snack for game day, a delicious side for lunch, or a comforting treat anytime. Pair them with burgers, salads, or your favorite dipping sauce for a meal everyone will love.
This recipe is a must-try for its simplicity, versatility, and unbeatable crunch. Once you try it, you’ll see why it’s a favorite among food lovers everywhere!
FAQs
Yes, you can prepare the coated onion rings and store them in the fridge for up to 2 hours before frying.
Serve them immediately after frying. If needed, reheat them in the oven at 375°F (190°C) for 5-7 minutes.
Absolutely! Cook the garlic Parmesan wings at 400°F (200°C) for 10-12 minutes by flipping them half the time.
Yes! Bake at 425°F (220°C) for 15-20 minutes or air fry at 400°F (200°C) for 10-12 minutes.
Yellow onions for balanced flavor or sweet onions (like Vidalia) for a milder taste.
Use almond flour and gluten-free breadcrumbs or crushed gluten-free crackers.
Classic options: ketchup, ranch, or a mix of mayo, ketchup, and hot sauce.
Freeze before frying. Coat, place on a baking sheet, freeze, then transfer to a bag. Fry directly from frozen.
How to Make the Best Onion Rings: A Foolproof Recipe for Crispy Goodness
Equipment
- Knife and Cutting Board For slicing onions into rings.
- Bowls (3) For the flour mixture, buttermilk, and breadcrumbs.
- Deep Skillet or Fryer For frying the onion rings.
- Slotted Spoon To remove the rings from the oil.
- Paper Towels For draining excess oil.
- Thermometer To monitor the oil temperature (optional but recommended).
- Baking Sheet (Optional) For baking or freezing onion rings.
- Air Fryer (Optional) For a healthier cooking method.
Ingredients
For the Onion Rings
- 2 large Yellow onions (or sweet onions for milder flavor)
- 1 cup All-purpose flour
- 1 teaspoon Paprika
- 1 teaspoon Garlic powder
- 1 teaspoon Salt
- ½ teaspoon Black pepper
- 1 cup Buttermilk (or regular milk + 1 tablespoon vinegar)
- ½ cup Breadcrumbs (panko for extra crunch)
- 1 teaspoon Onion powder (optional)
- Oil for frying (vegetable, canola, or peanut oil)
For the Dipping Sauce (Optional)
- ½ cup Mayonnaise
- 2 tablespoons Ketchup
- 1 teaspoon Hot sauce (adjust to taste)
- 1 teaspoon Honey
- ½ teaspoon Smoked paprika
Instructions
- Prep Onions: Peel, slice into rings, and soak in water (optional).

- Coating Station: Set up 3 bowls—flour mix, buttermilk, breadcrumbs.
- Coat Rings: Dip rings in flour, buttermilk, then breadcrumbs (double-coat for extra crunch).
- Heat Oil: Heat oil to 375°F (190°C).
- Fry: Fry in batches for 2-3 minutes until golden. Drain on paper towels.
- Serve: Enjoy hot with dipping sauce.